

Key Takeaways
-
 Identification First: Recognize carpenter bees by their round entry holes and sawdust piles to assess infestation.
 -
Safety Matters: Use chemical-free methods like traps and natural repellents (citrus, almond oil) for safe bee removal.
-
Seal Holes Carefully: Never seal holes until bees are gone to avoid structural damage.
-
Effective Prevention: Paint exposed wood, patch holes, and replace damaged areas to prevent future infestations.
-
Seek Professional Help: For extensive damage, structural infestations, or allergy risks, always call a professional.
 You walk out onto your porch, coffee in hand, and hear it—that low buzz cutting through the quiet. A chunky bee hovers near your railing before disappearing into a hole in your wood siding. Perfectly round. Freshly drilled.
If you’re seeing this, you’re not alone. Across the U.S., carpenter bees show up like clockwork each spring, turning decks, fences, and eaves into nesting zones. And while they might look harmless—somewhat slow and curious—they can cause real structural damage if ignored.
This article provides a clear, step-by-step guide to safely removing carpenter bees, covering identification, safe removal methods, sealing tunnels, and effective prevention techniques. It emphasizes safety and explains when professional help might be necessary.
Worried your porch might be turning into a carpenter bee condo? Schedule your Free Pest Inspection today. Our experts will help you identify carpenter bee issues early and protect your home effectively!
You walk out onto your porch, coffee in hand, and hear it—that low buzz cutting through the quiet. A chunky bee hovers near your railing before disappearing into a hole in your wood siding. Perfectly round. Freshly drilled.
If you’re seeing this, you’re not alone. Across the U.S., carpenter bees show up like clockwork each spring, turning decks, fences, and eaves into nesting zones. And while they might look harmless—somewhat slow and curious—they can cause real structural damage if ignored.
This article provides a clear, step-by-step guide to safely removing carpenter bees, covering identification, safe removal methods, sealing tunnels, and effective prevention techniques. It emphasizes safety and explains when professional help might be necessary.
Worried your porch might be turning into a carpenter bee condo? Schedule your Free Pest Inspection today. Our experts will help you identify carpenter bee issues early and protect your home effectively!
Remove Carpenter Bees Safely
Carpenter bees can be a nuisance for homeowners, drilling holes in wooden structures and potentially causing long-term damage. However, many homeowners are also concerned about removing them safely—avoiding stings, using non-toxic methods, or preventing damage to their property. The good news? You don’t need chemical sprays or expensive exterminators to fix it. Here, we walk you through safe and effective bee removal strategies while ensuring your home and family stay protected.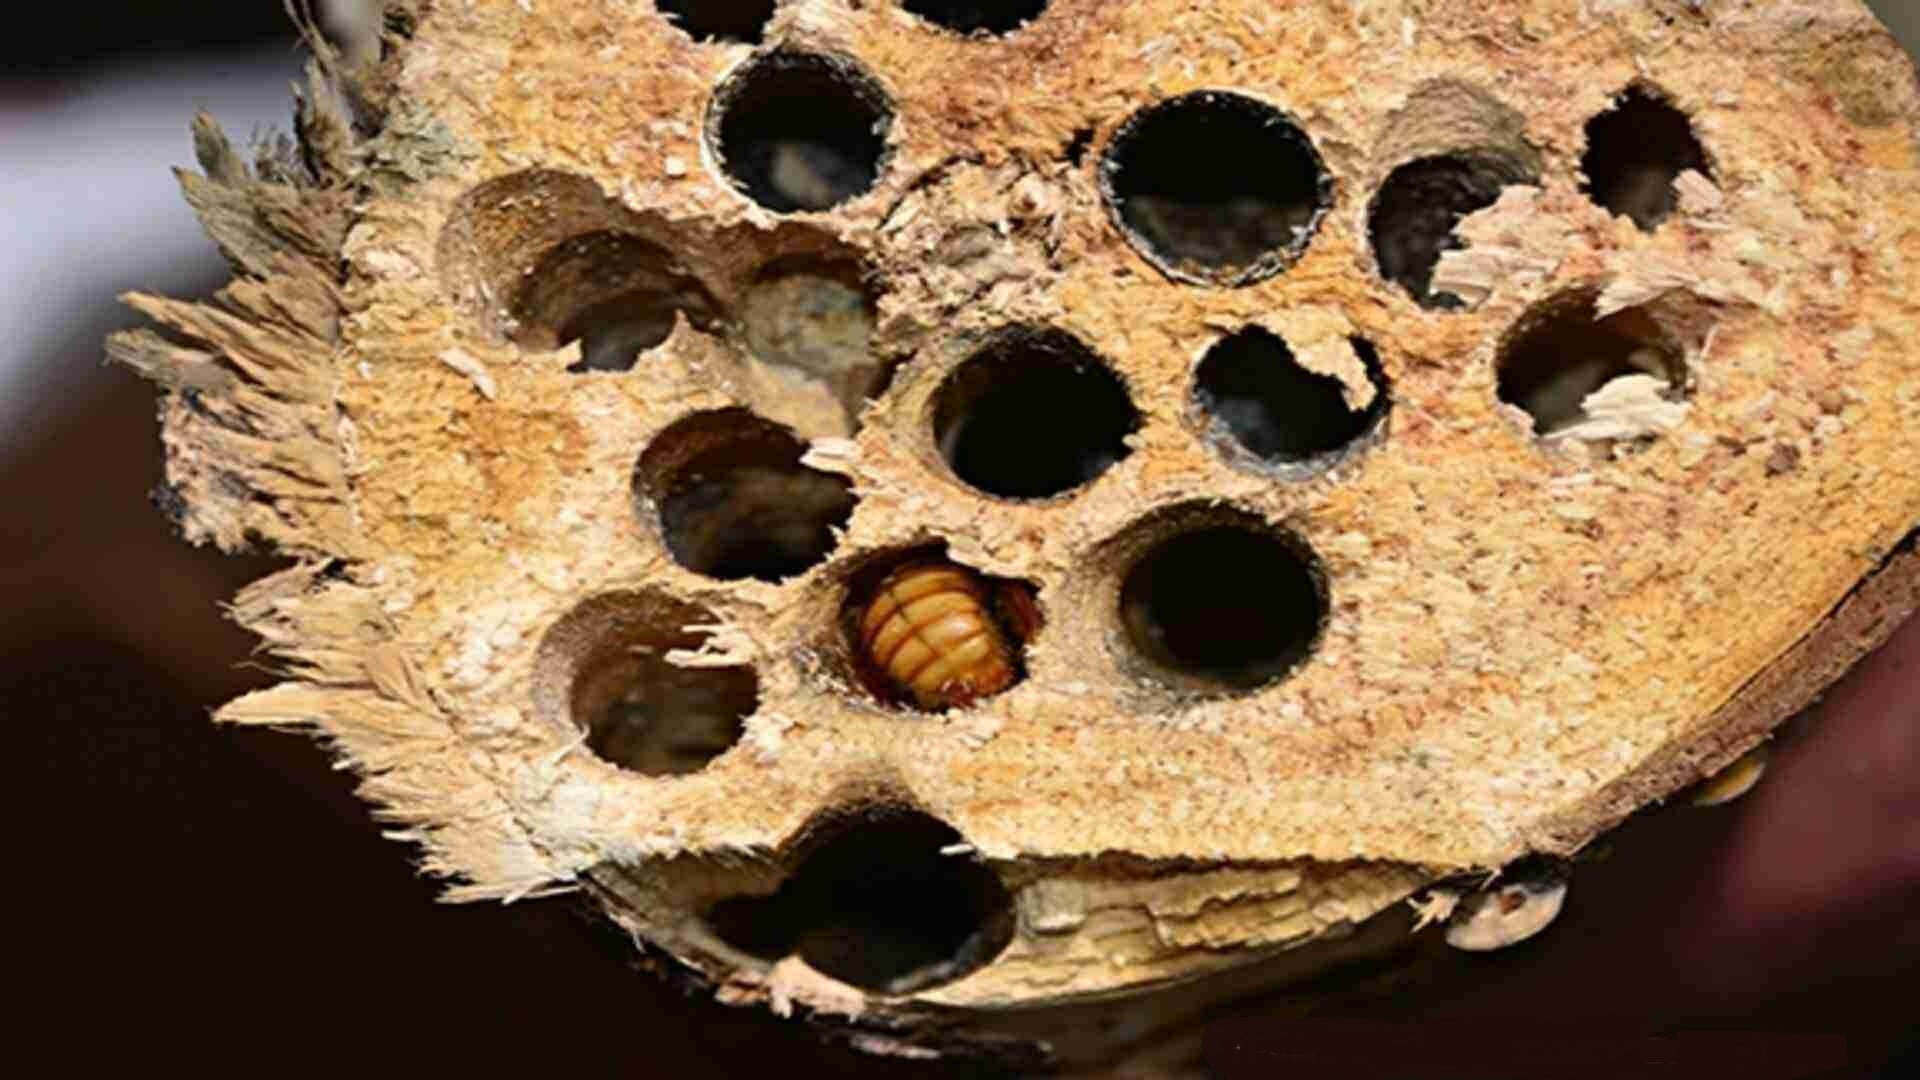

Not getting a solution?
Get your free pest control estimate today!What Are Carpenter Bees and Why Do They Matter?
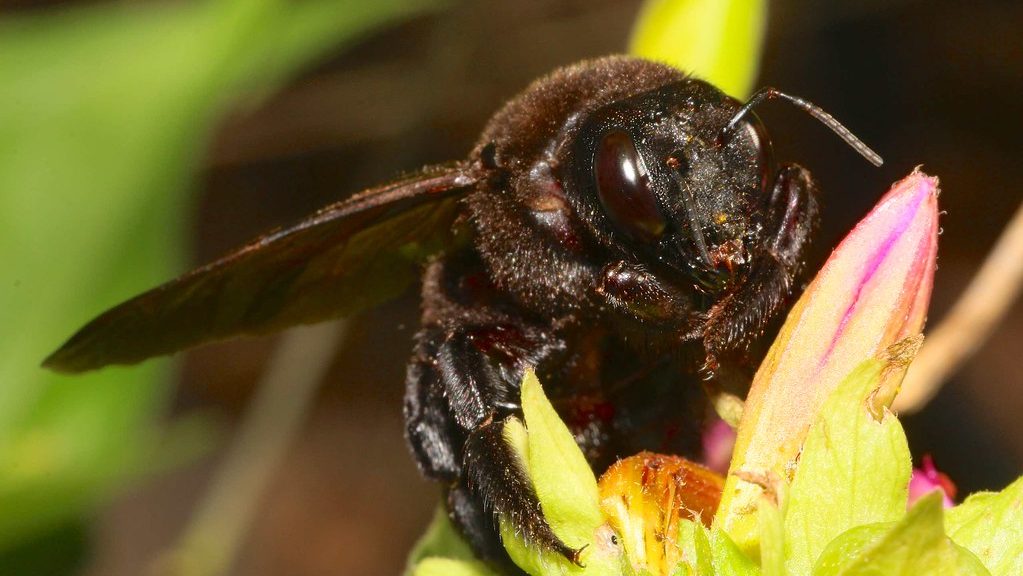
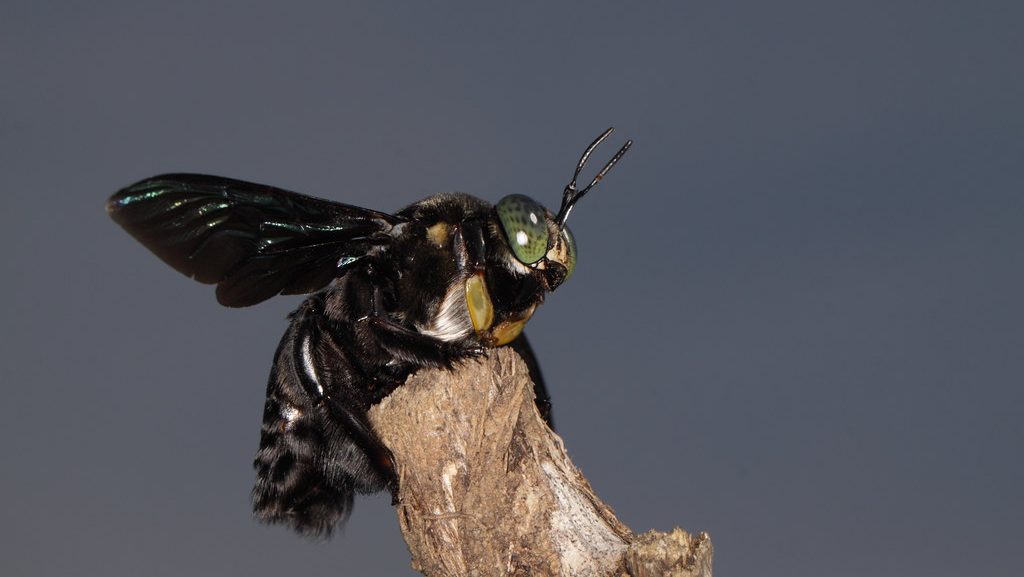
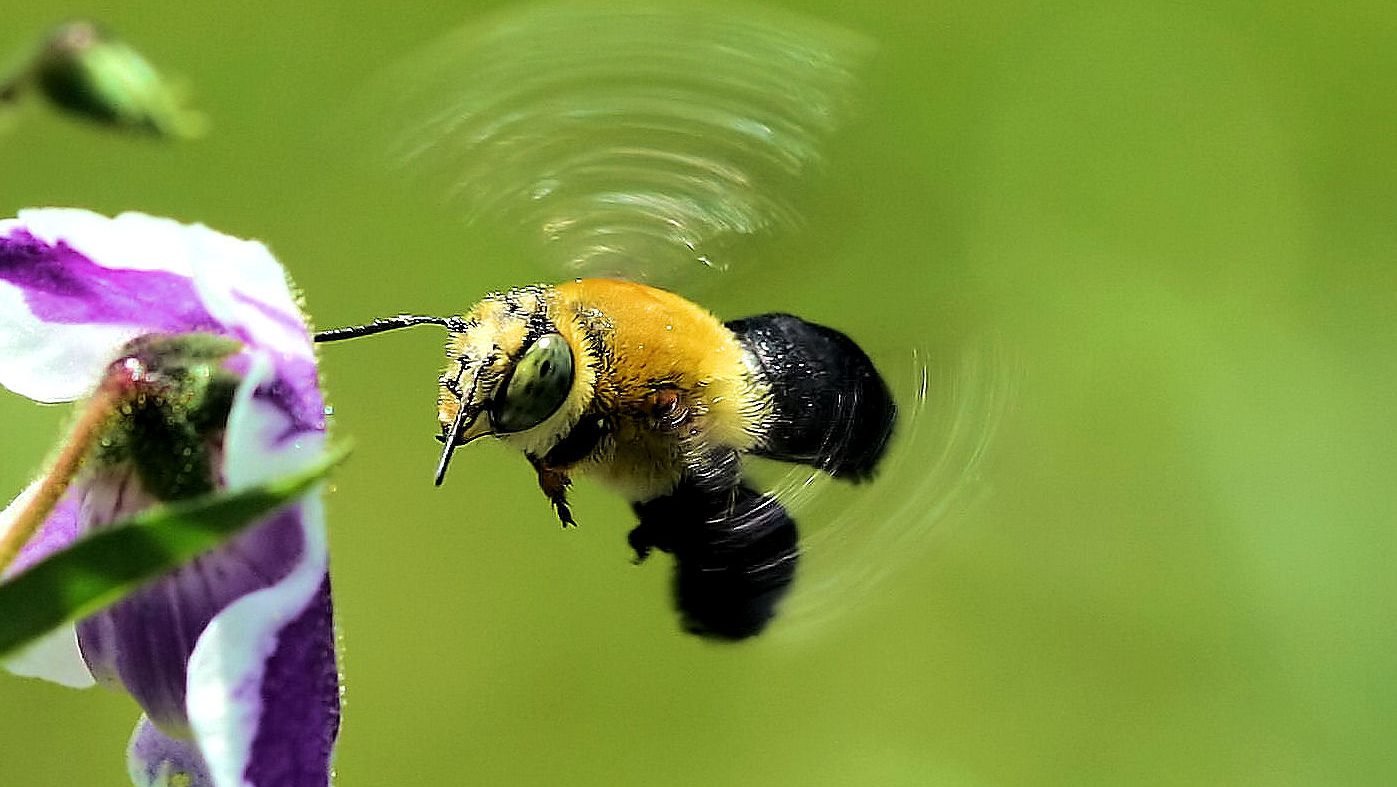
Carpenter bees are large, solitary insects that look a lot like bumblebees—except for their smooth, shiny abdomens. Unlike their honey-producing cousins, these bees don’t live in hives. Instead, they drill into wood to create long tunnels where they lay their eggs. Each tunnel can be 6 to 10 inches long. The female bee does the drilling and egg-laying. The male guards the entrance—buzzing aggressively but completely stingless. At first, a single hole might not seem like a problem. But these bees often return to the same spot year after year. They expand existing tunnels or create new ones nearby, weakening the wood from within. Over time, your deck, railings, siding, or even structural beams can suffer. And there’s more. The larvae inside those tunnels make noise—which attracts woodpeckers. Those birds can tear through your siding to get a snack, multiplying the damage.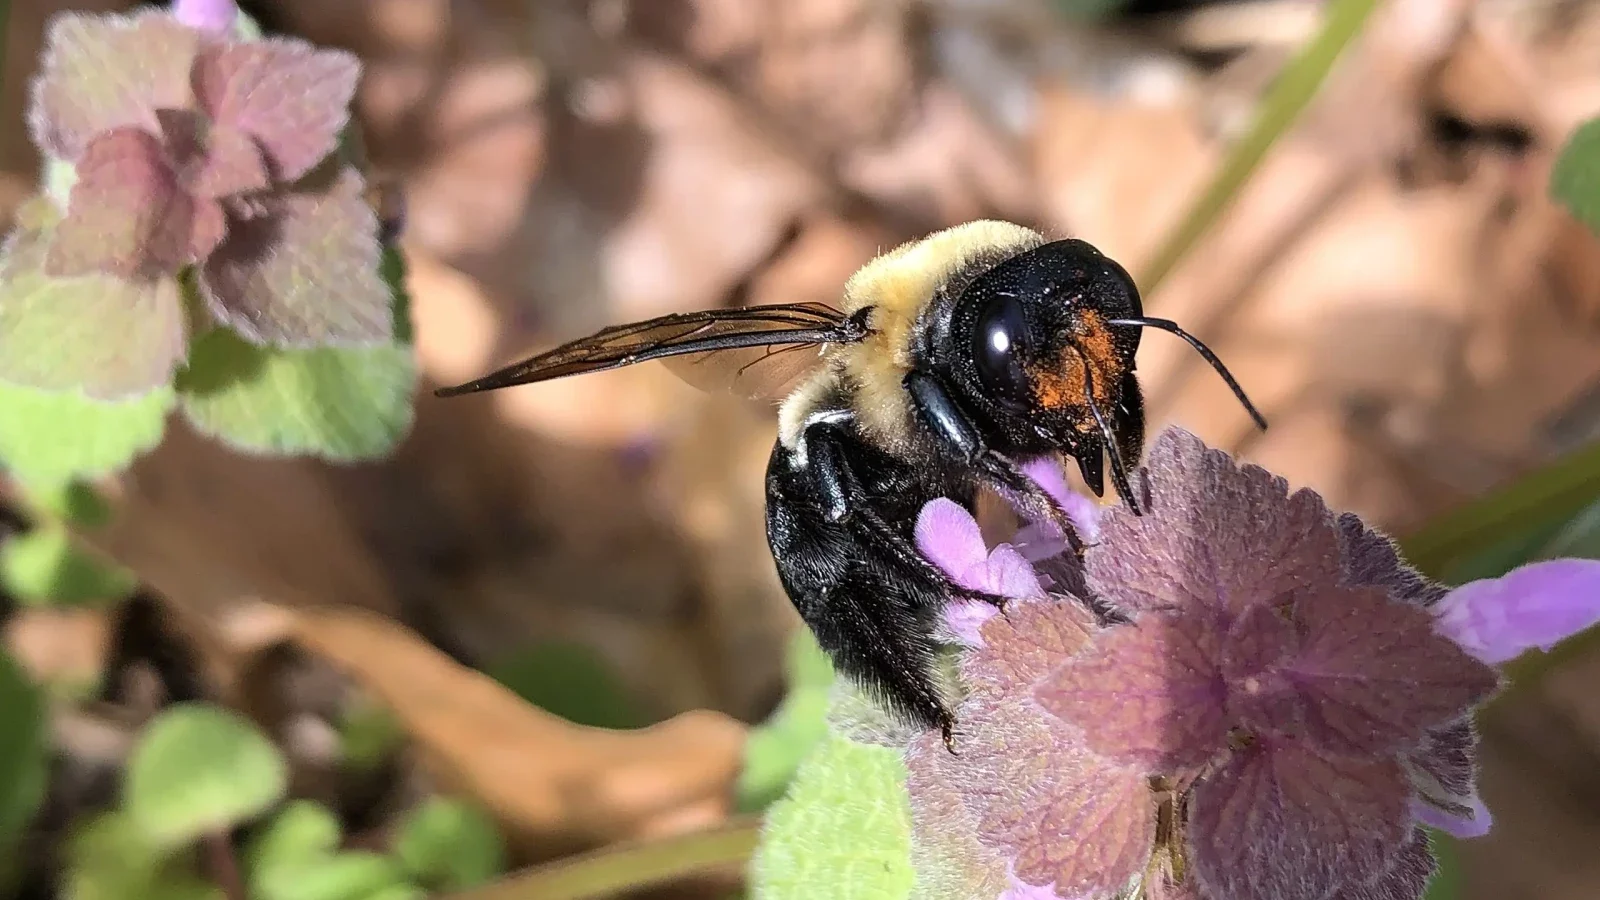
Why Safety Matters in Carpenter Bee Removal
Risks of Improper Bee Removal
-
Stings from female carpenter bees (males are aggressive but cannot sting).
-
Accidental property damage if bees are sealed inside tunnels prematurely.
-
Exposure to harmful chemicals if using insecticides without precautions.
-
Harming beneficial pollinators that contribute to the ecosystem.
Step 1: Identify Carpenter Bees & Their Damage
Signs of Carpenter Bee Activity
-
Smooth, round holes (½ inch diameter) in exposed wood, especially on eaves, decks, and siding.
-
Piles of sawdust (frass) near the holes.
-
Buzzing noises inside the wood as bees drill tunnels.
-
Yellowish or brown stains from bee waste around nesting sites.
-
Woodpeckers pecking the same wooden spot repeatedly.
Step 2: Choose a Safe Carpenter Bee Removal Method
You can handle most carpenter bee problems using non-toxic tools and simple techniques. Here’s what works: Install Carpenter Bee Traps Traps are an easy and passive way to cut down the population. They’re usually made of wood, with angled entry holes and a clear container attached underneath. Bees fly in, thinking it’s a perfect nesting spot, and become trapped inside.Where to Place Traps
- Under roof eaves
- Along railings
- Near previous activity zones
How to Apply It
- Mix 15–20 drops of essential oil with water in a spray bottle
- Spray directly into each tunnel and on surrounding surfaces
- Reapply every few days or after heavy rain
What You Can Use
- A speaker playing music or static
- Wind chimes hung near active areas
- Power tools (briefly used) near nests during the day
Chemical-Free Physical Removal Methods
Vacuum the Bees Out If the nest is within arm’s reach and you’re confident, a shop vacuum may work.Steps
- Wait until evening, when the bees are less active
- Use a vacuum with a narrow nozzle attachment
- Place it directly over the tunnel entrance and run it for 30–60 seconds
- Seal the hole immediately with wood filler or a suitable plug
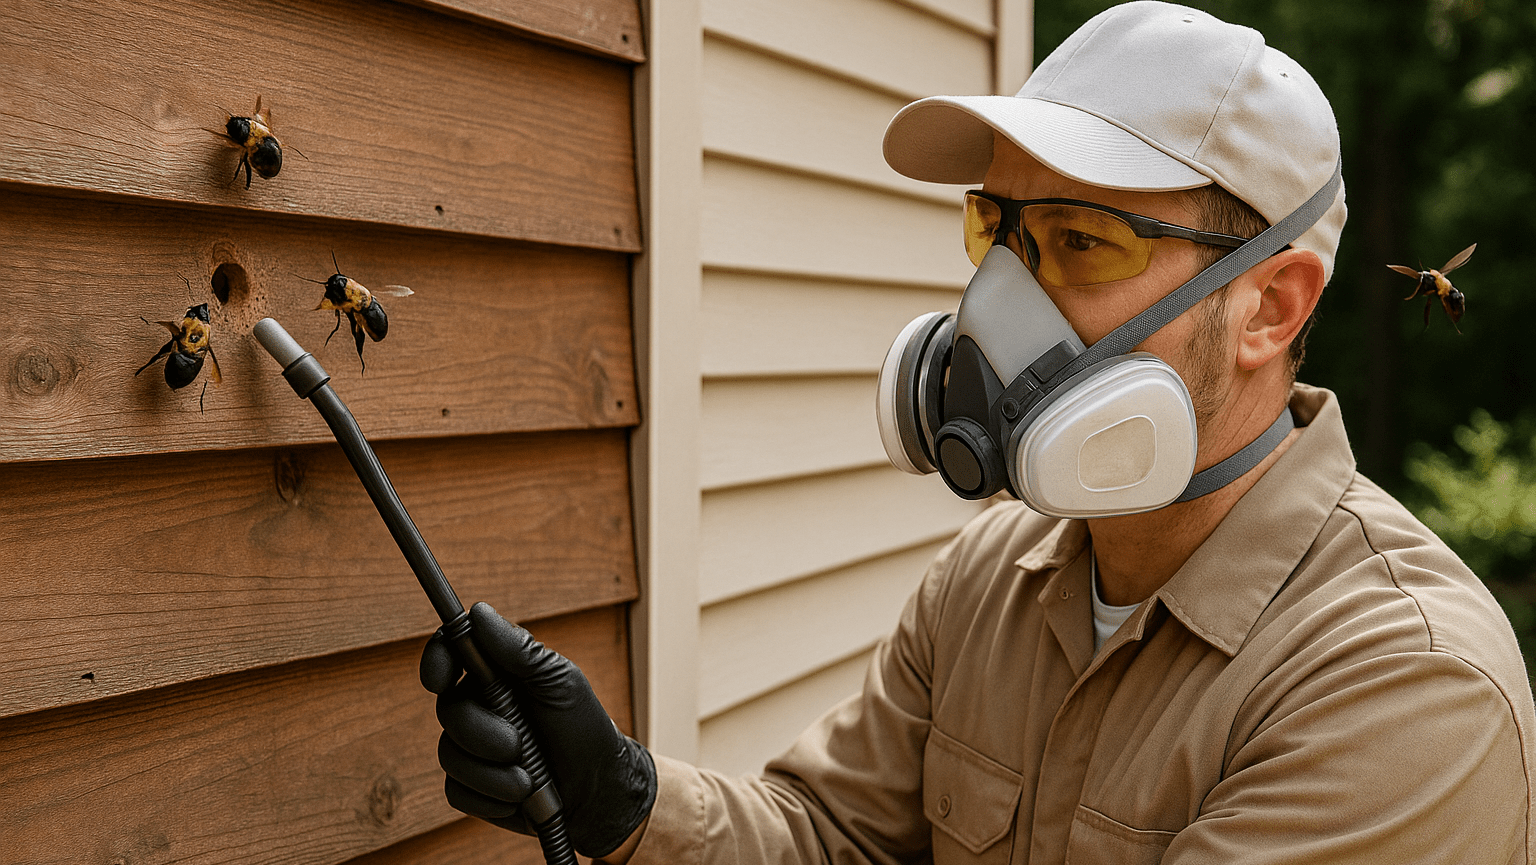
Safe Use of Insecticides (For Persistent Infestations)
-
Insecticidal Dust: If the infestation is large or deep-set, insecticidal dust can help—but only as a last resort. Boric acid or pyrethroid dust can be applied inside carpenter bee tunnels. Wait 24-48 hours before sealing holes.
-
Aerosol Foams: Expanding foams fill tunnels, eliminating bees inside. Use a long-reach nozzle to apply foam without direct exposure.
How to Apply It
- Use a hand duster or puff applicator for precise application
- Apply the dust directly into each tunnel entrance at night
- Allow the dust to sit undisturbed for 24–48 hours before sealing the hole
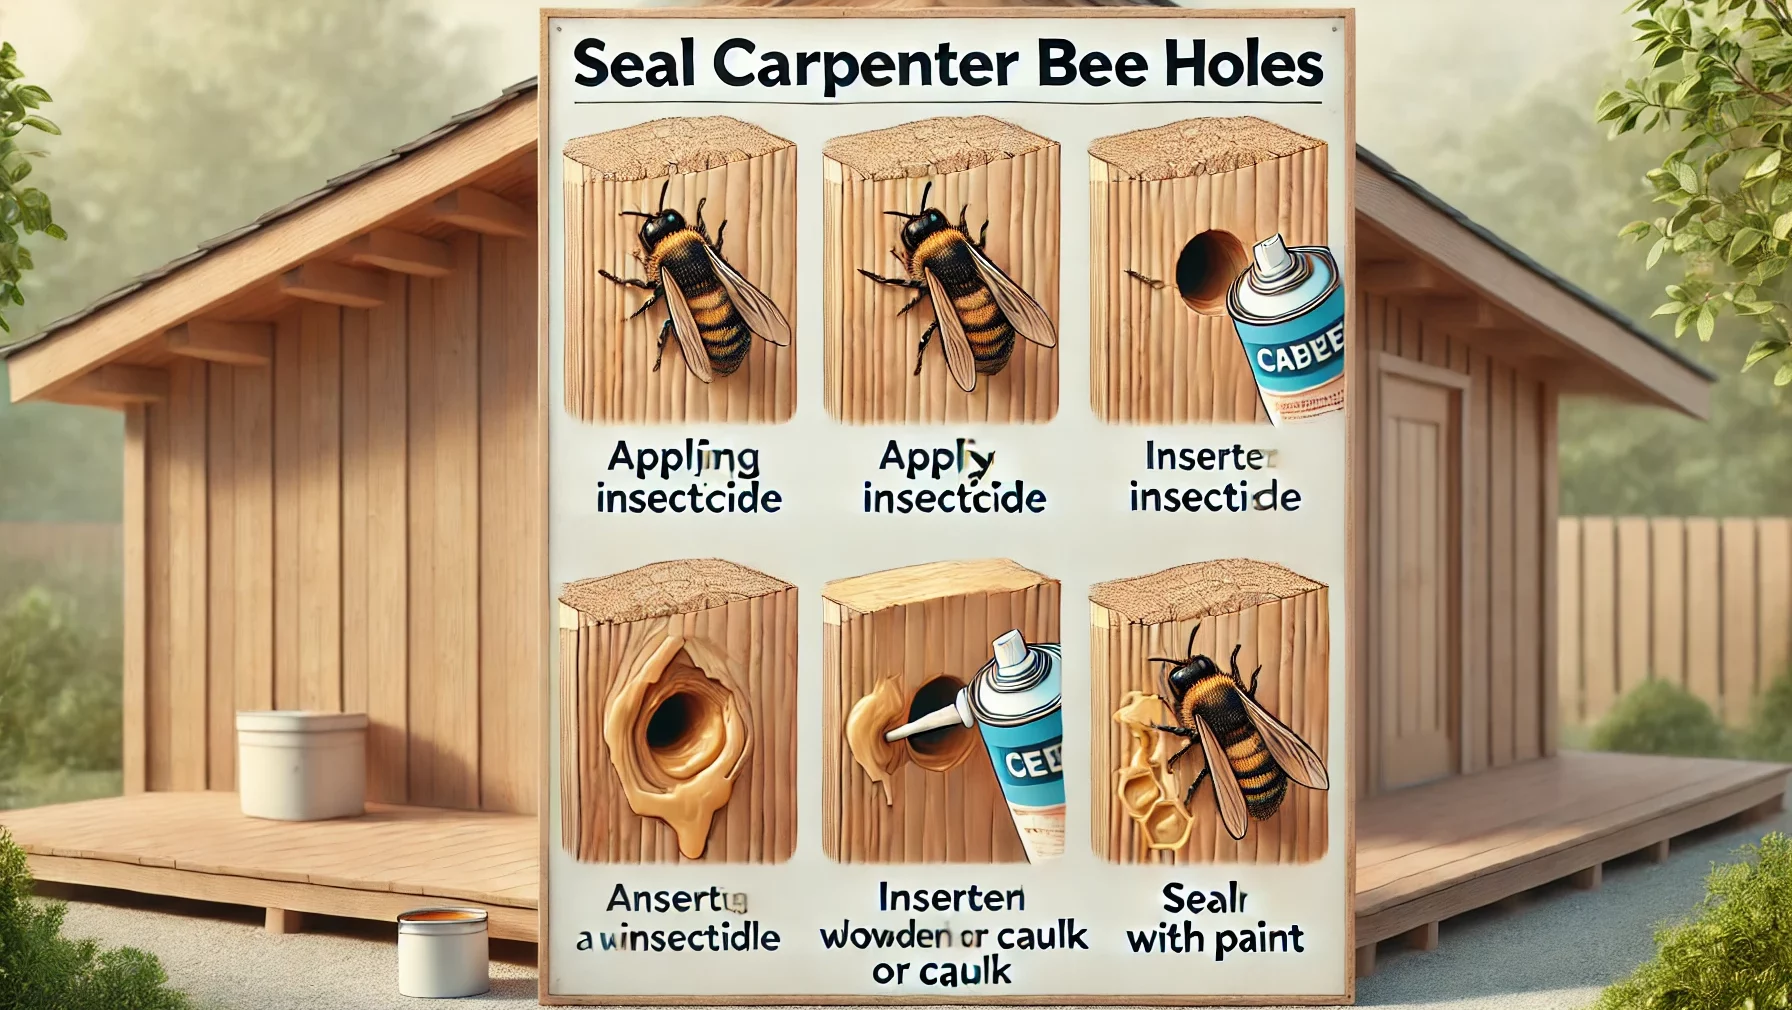
Step 3: Safely Seal Carpenter Bee Holes
Once you’ve cleared the bees, don’t leave the tunnels exposed. Open holes invite more bees—and let in moisture, which can rot the wood.Sealing Process
-
Fill holes with wooden dowels, wood putty, or exterior-grade caulk.
-
Sand the area smooth and apply paint or polyurethane sealant (paint is more effective).
-
Monitor the area regularly to ensure new holes aren’t appearing.
Step 4: Prevent Carpenter Bees from Returning
Prevention is just as important as removal. Here’s how to make your home a no-fly zone: Paint or Stain All Exposed Wood Carpenter bees love soft, untreated wood—especially pine. A simple coat of paint or sealant acts as a barrier. Focus on:- Deck railings
- Trim boards
- Fence tops
- Under-deck framing
Signs You Need Professional Help
-
You have multiple bee holes across different areas of your home.
-
The infestation has spread to structural wood.
-
You’re allergic to bee stings and need a risk-free solution.


